Why Winter Is Hard on Compost (and Why That's OK)
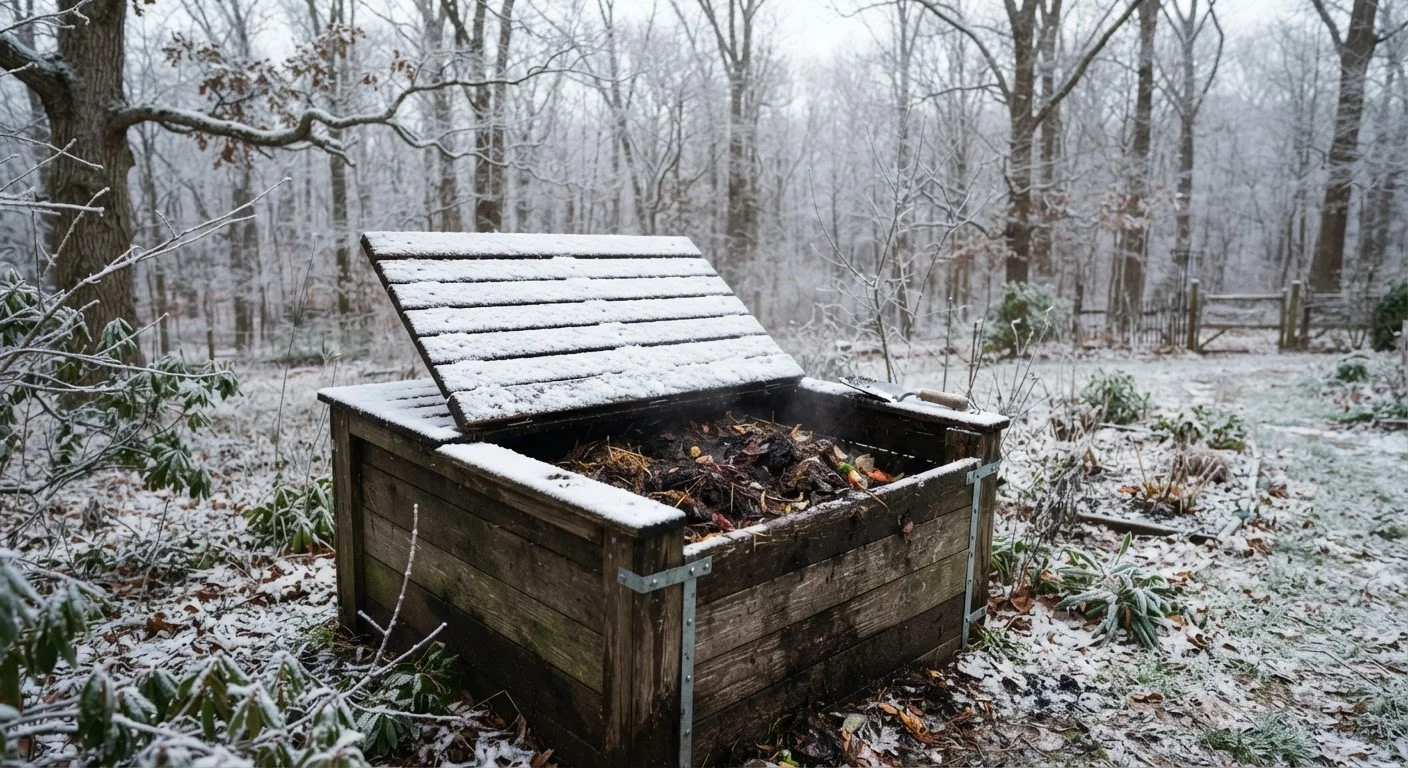
Compost depends on microorganisms - bacteria, fungi, and other organisms - to break down organic matter. These microbes are temperature-sensitive. When air temperatures drop below 50°F, their activity slows noticeably. Once a pile freezes solid, decomposition essentially pauses.
This is not a failure. It's a natural seasonal rhythm. A pile that looks inert in January can spring back to life in March, especially if it was maintained thoughtfully during the cold months. The goal of winter composting isn't to match your summer decomposition rate - it's to keep the pile in good condition so it rebounds fast when warmth returns.
For a deeper look at how composting works year-round, see our full guide to home composting, which covers materials, ratios, and troubleshooting in detail.
Start Preparing Before the Freeze Arrives
The most effective winter composting starts in fall, not December. Taking time in October or November to bulk up the pile, balance your materials, and add insulation gives the microbial community time to generate internal heat before hard freezes arrive. A pile that enters winter already warm will hold activity longer than one that was neglected until the cold hit.
What You'll Need Before You Start
Preparing your compost pile for winter doesn't require specialized equipment. Gather these materials before temperatures drop hard.
Compost bin or enclosed pile structure
Keeps materials contained and helps retain heat better than an open freestanding pile.
Straw bales or dry leaves
Used to insulate the exterior of the pile and prevent rapid heat loss in freezing temperatures.
Garden fork or compost turner
Used to aerate and turn the pile during mild weather and at spring restart.
Heavy tarp or bin lid
Covers the top of the pile to shed snow and rain, preventing waterlogging.
Compost thermometer
Lets you monitor internal pile temperature to gauge microbial activity and heat retention.
Shredded cardboard
Provides carbon-rich insulating material and improves the pile's structure during winter.
What you will need
Step-by-Step: Winter Compost Maintenance
Follow these steps in the weeks before and during your coldest months. The earlier you prepare, the better your pile will hold heat.
Build the Pile Up Before the First Hard Freeze
A larger mass retains heat far better than a small one. Aim for a pile that is at least 3 feet wide, 3 feet deep, and 3 feet tall - a cubic yard is a reliable minimum for winter heat retention. In the weeks before your first hard freeze, add bulk by layering brown materials (dry leaves, straw, shredded cardboard) with any available green materials (food scraps, grass clippings, coffee grounds).
Insulate the Exterior of the Pile
Once temperatures begin dropping consistently, wrap or surround the outside of the pile with an insulating layer. Options include:
- A 6-12 inch layer of straw bales stacked around the sides
- Thick cardboard sheets held in place with stakes
- Dry leaves packed in burlap sacks or old pillowcases
If your bin has open slatted sides, consider lining the interior with cardboard as well. The goal is to reduce heat loss without completely sealing off airflow.
Adjust Your Carbon-to-Nitrogen Balance
Before the pile freezes, ensure your carbon-to-nitrogen (C:N) ratio is roughly balanced - approximately 25-30 parts carbon to 1 part nitrogen by weight. A pile that leans too far toward nitrogen-rich (green) materials going into winter can become slimy and smelly during partial thaws. Add a generous layer of dry brown materials on top as a finishing cap before the freeze sets in.
Continue Adding Kitchen Scraps Through Winter
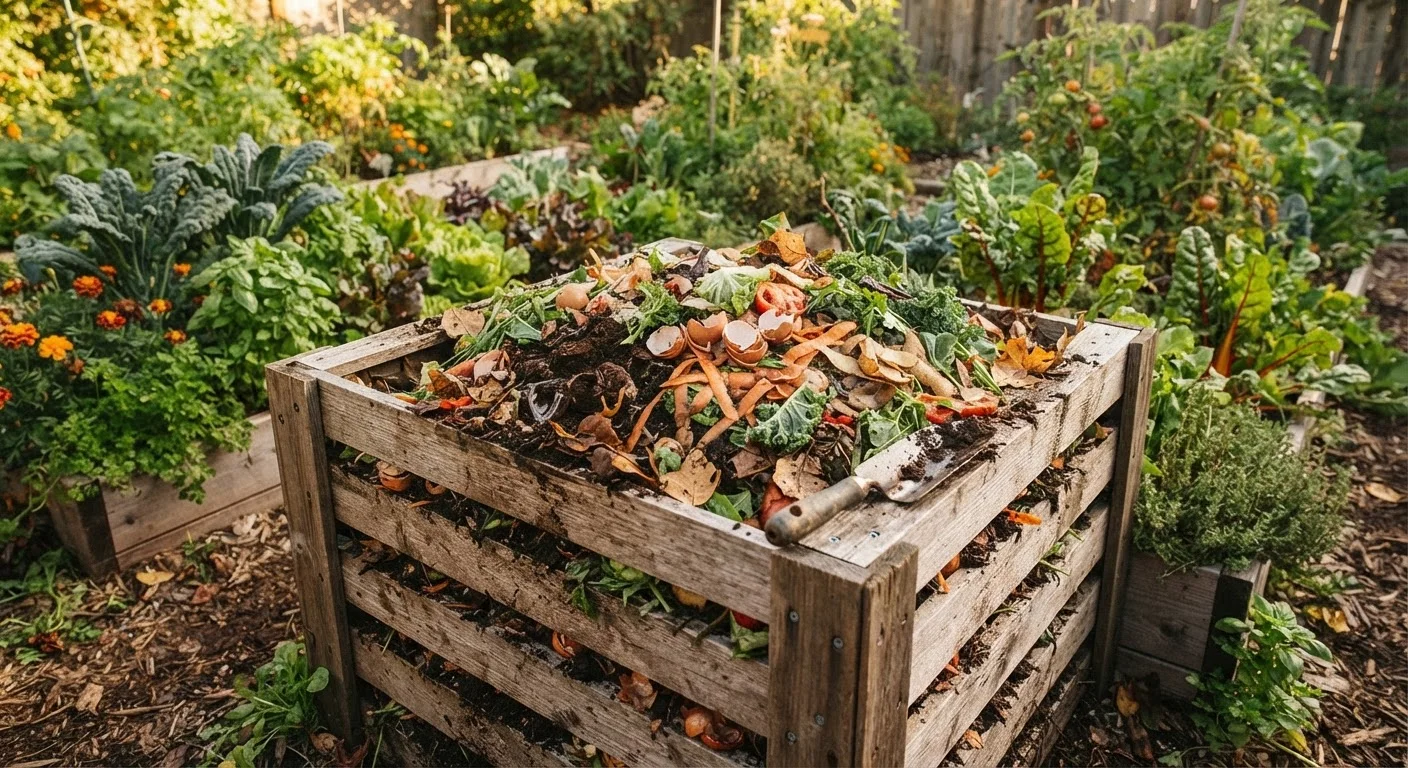
You don't have to stop adding to your pile just because it's cold. Vegetable peels, fruit scraps, coffee grounds, and eggshells can still go in. The key is placement: dig into the center of the pile as deeply as possible, deposit your scraps, and cover them with existing compost material. The interior of a well-insulated pile may remain partially active even when the outer layers are frozen.
Minimize Turning During the Coldest Weeks
Turning the pile releases heat, which is counterproductive in mid-winter. Limit turning to mild days when temperatures are above freezing. If the pile is fully frozen, leave it alone. Save aggressive turning and aeration for early spring when temperatures are reliably above 40°F.
Restart the Pile Actively in Early Spring
As temperatures warm, your pile will thaw from the outside in. This is the moment to act: turn the pile thoroughly, mix outer frozen layers into the warmer center, and add a nitrogen boost (fresh food scraps, coffee grounds, or grass clippings if available). Within a week or two of consistent warm temperatures, you should see steam rising - a sign that microbial activity has resumed at full speed.
Pest Attraction Is a Real Winter Risk
Rodents and other wildlife actively seek food sources in winter. Adding meat, fish, dairy, or oily cooked foods to an outdoor compost pile dramatically increases the likelihood of attracting pests. Stick to raw fruit and vegetable scraps, coffee grounds, and eggshells. If pest pressure is already a concern in your area, consider a bin with a secure, latching lid and a solid or hardware-cloth floor.
Troubleshooting Common Winter Compost Problems
Even a well-managed winter pile can run into issues. Here's what to watch for:
- Pile is frozen solid
- This is normal in regions with sustained hard freezes. Stop turning the pile - leave it alone until temperatures stay consistently above freezing, then aerate and add fresh nitrogen-rich materials to restart activity.
- Pile smells bad after a thaw
- A brief thaw followed by re-freezing can create anaerobic (oxygen-deprived) conditions. When you can access the pile, turn it and add dry brown materials like shredded cardboard or straw to restore airflow.
- Pile isn't generating any heat
- In winter, most piles won't hit the high temperatures seen in summer. Focus on insulation and pile size rather than expecting thermophilic (high-heat) activity. If your pile is smaller than three feet in each dimension, consider consolidating it or adding more material.
Don't Expect Summer Results in Winter
A frozen or near-frozen pile will not reach the high internal temperatures (130-160°F) that kill weed seeds and pathogens. Material added during winter should be assumed to retain weed seeds until the pile is fully active and hot again in spring. Apply winter compost only to areas where weed pressure is manageable, or wait until the pile has gone through a full active hot cycle before spreading it on beds.