Why Composting Is Worth Starting
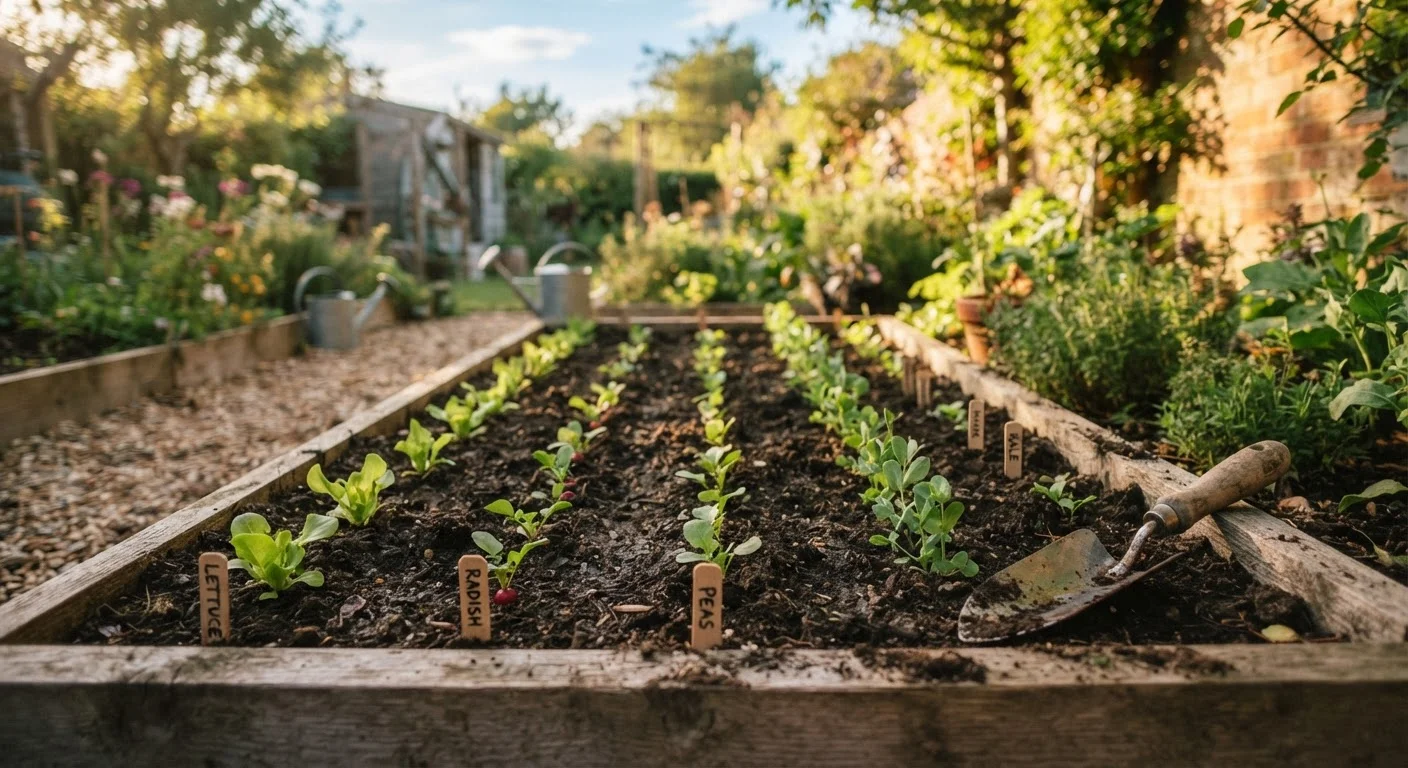
Composting is one of the highest-impact habits a home gardener can adopt. Rather than sending vegetable peels, coffee grounds, and yard clippings to a landfill, you return them to the soil as a nutrient-rich amendment that improves plant health from the roots up.
According to the U.S. Environmental Protection Agency, food and yard waste together make up a significant share of what Americans discard. Composting diverts that material and produces something genuinely useful: a free, consistent source of organic matter for your garden beds. If you're starting your first vegetable garden, homemade compost gives your plants the best possible foundation from day one.
30%
Food waste diverted from landfills by composting
The U.S. EPA estimates that food and yard waste account for roughly 30% of what Americans throw away and could be composted instead.
2-6 months
Typical time to finished compost
Depending on the method, materials, and maintenance frequency, most home compost piles produce usable material within two to six months.
130-160°F
Internal temperature of an active hot pile
A well-maintained hot compost pile reaches these temperatures, which are sufficient to neutralize many common weed seeds and plant pathogens.
Choosing a Composting Method
Not all composting systems work the same way - or suit the same household. Match your method to your space, volume of waste, and how hands-on you want to be.
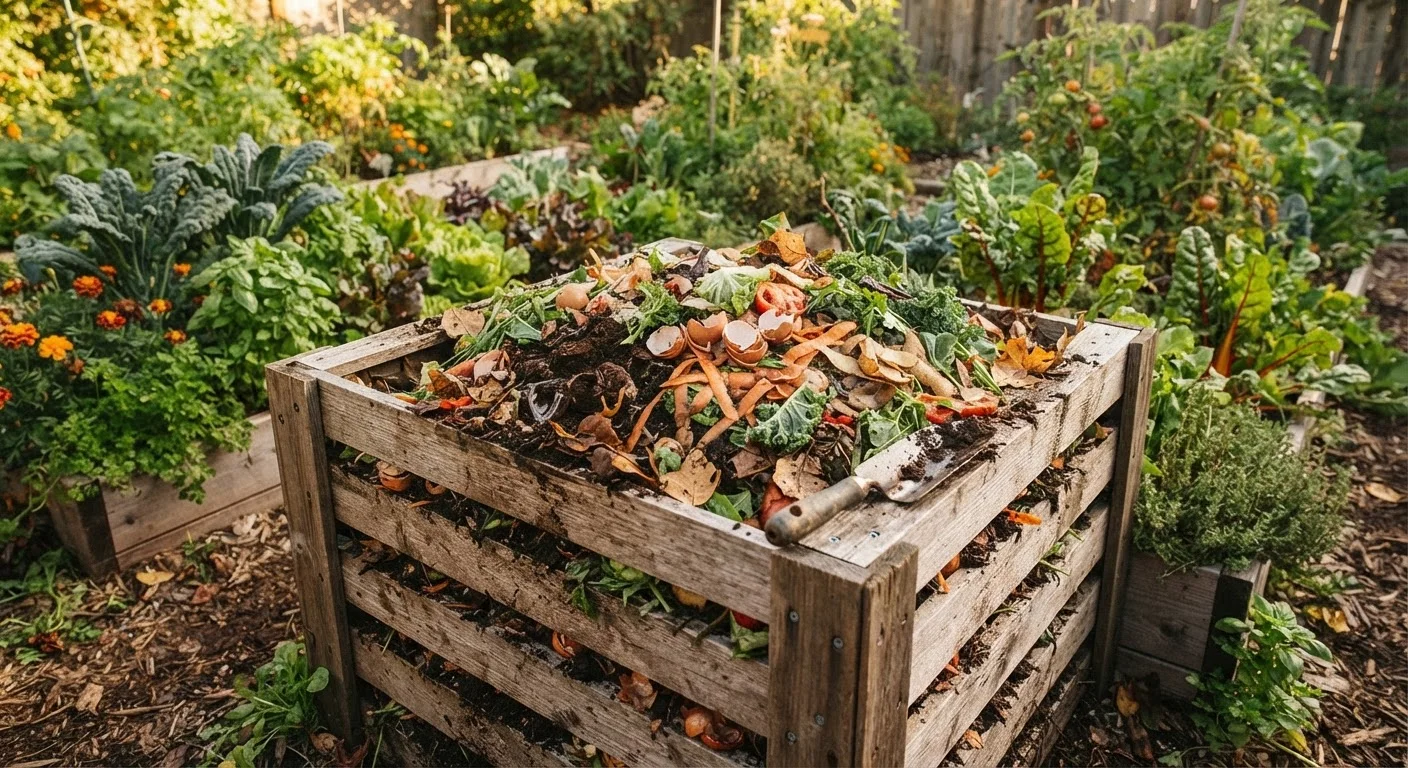
- Outdoor bin or pile: Suits most suburban yards. A simple open pile or enclosed bin handles kitchen scraps and yard waste efficiently. This is the most forgiving approach for beginners.
- Tumbler: A rotating drum that speeds decomposition and keeps pests out. Good for tidier setups or where local wildlife is a concern.
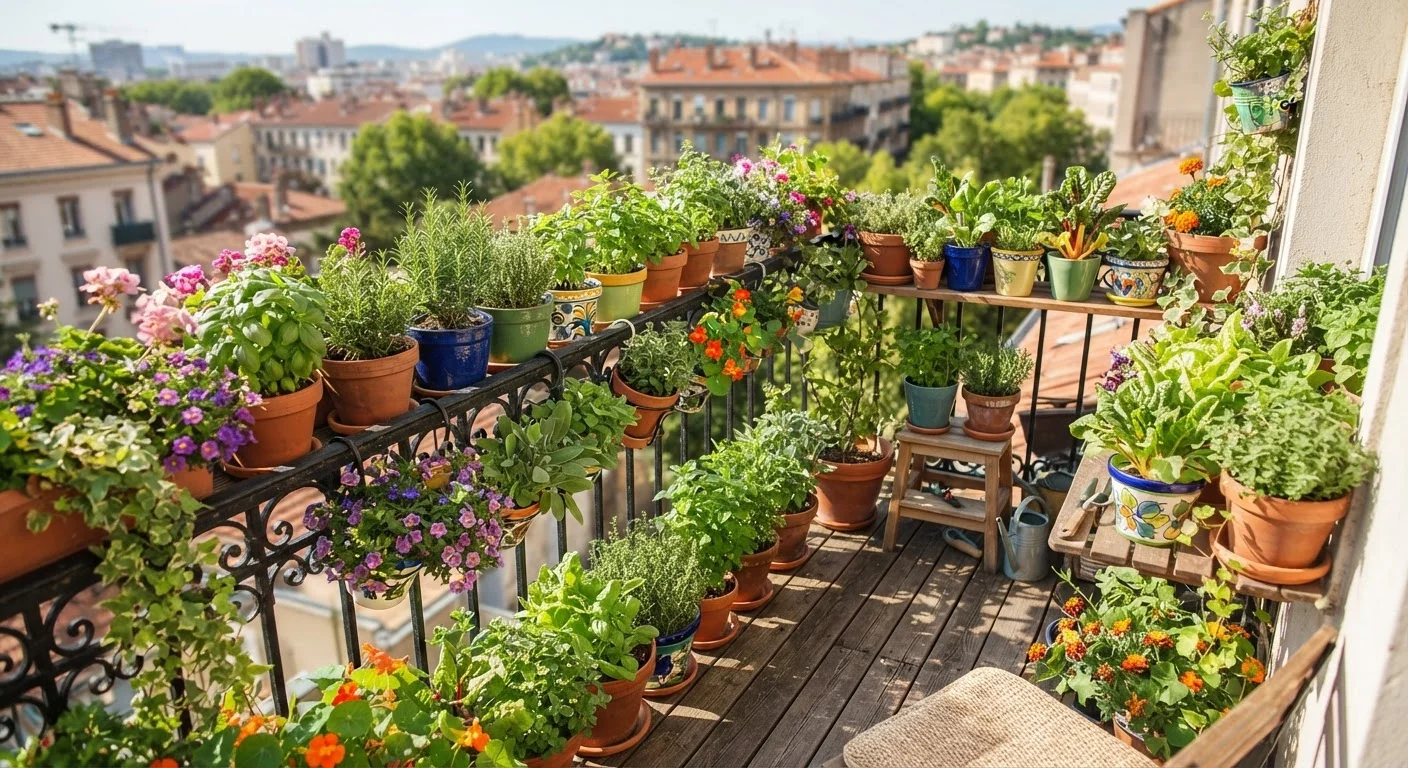
- Vermicomposting (worm bin): Uses red wigglers to break down food scraps in a compact bin. Ideal for apartments or small patios - it can even live indoors.
- Bokashi: A fermentation method using inoculated bran to pre-process food waste, including cooked food and meat, before burying or adding to a traditional pile.
If you're working with a patio or balcony setup, see our guide to container gardening in small outdoor spaces - a worm bin fits naturally into that kind of environment.
Keep a small covered container on your kitchen counter to collect scraps between trips to your outdoor bin - this makes the habit dramatically easier to stick with.
Reducing friction at the point of waste generation is the most reliable way to build a consistent composting routine without daily trips outside.
Stockpile dry leaves each fall in bags or a simple wire cage so you always have browns available to balance a summer flush of green kitchen scraps.
The most common composting failure in warm months is an excess of greens with no carbon material on hand - having a leaf stockpile solves this problem year-round.
What to Compost: Greens, Browns, and What to Skip
Healthy compost depends on balancing two categories of material:
- Greens (nitrogen-rich)
- Vegetable and fruit scraps, coffee grounds and filters, fresh grass clippings, plant trimmings, eggshells.
- Browns (carbon-rich)
- Dry leaves, cardboard torn into small pieces, paper bags, straw, wood chips, paper towels (unbleached).
Aim for roughly 3 parts brown to 1 part green by volume. Too many greens and the pile turns slimy and smells; too many browns and decomposition slows to a crawl.
Materials to Keep Out of Your Compost
Avoid adding meat, fish, dairy, oily foods, pet waste, diseased plants, or anything treated with persistent pesticides. These materials can attract pests, create harmful pathogens, or introduce chemicals that damage soil biology. Cooked food is generally fine only in a bokashi system, not a standard open pile.
Compost works best when materials are chopped or shredded into smaller pieces - this increases surface area and speeds microbial activity considerably.
Building and Maintaining Your Pile
Start with a 4- to 6-inch layer of coarse browns at the base to promote airflow. Alternate green and brown layers, watering lightly as you go. The finished pile should feel about as damp as a wrung-out sponge.
Turn the pile every one to two weeks using a garden fork to introduce oxygen - the single biggest factor in speeding decomposition. A hot, active pile can reach 130-160°F internally, which also kills weed seeds and many pathogens.
Consistency matters more than perfection. Adding materials regularly, keeping moisture steady, and turning occasionally will produce finished compost in roughly two to six months depending on conditions and method.
Speed It Up With Smaller Pieces
Chop vegetable scraps, shred cardboard, and mow over leaves before adding them to your pile. Smaller particle sizes expose more surface area to microbial activity, which can cut your composting time nearly in half. A simple pair of garden shears at your bin makes this easy to do habitually.
Troubleshooting Common Compost Problems
Even well-managed piles run into issues. Here's how to read the signs and correct course:
| Problem | Likely Cause | Fix |
|---|---|---|
| Bad smell (ammonia) | Too many greens | Add more browns, turn to aerate |
| Bad smell (rotten egg) | Pile too wet, no airflow | Turn pile, add dry browns |
| Pile not heating up | Too dry or too much carbon | Add water and green material |
| Pests attracted | Food exposed on surface | Bury scraps under browns; use a lidded bin |
| Decomposition very slow | Materials too large | Shred or chop inputs before adding |
Cold vs. Hot Composting
Not all piles need to heat up to work. 'Cold' composting - simply adding materials over time without active turning - still produces finished compost, just more slowly (often 6-12 months). Hot composting requires more management but finishes faster and kills more weed seeds. Both approaches are valid depending on your goals.
Using Finished Compost in Your Garden
Finished compost is dark brown to black, crumbles easily, and smells like fresh earth - not like recognizable food scraps. If you can still identify what you put in, it needs more time.
Apply finished compost in several ways:
- Soil amendment: Work 2-4 inches into planting beds each season to improve structure, drainage, and fertility.
- Top dressing: Spread a half-inch layer around established plants as a gentle, slow-release feed.
- Potting mix booster: Blend up to 25-30% finished compost into potting mix for containers.
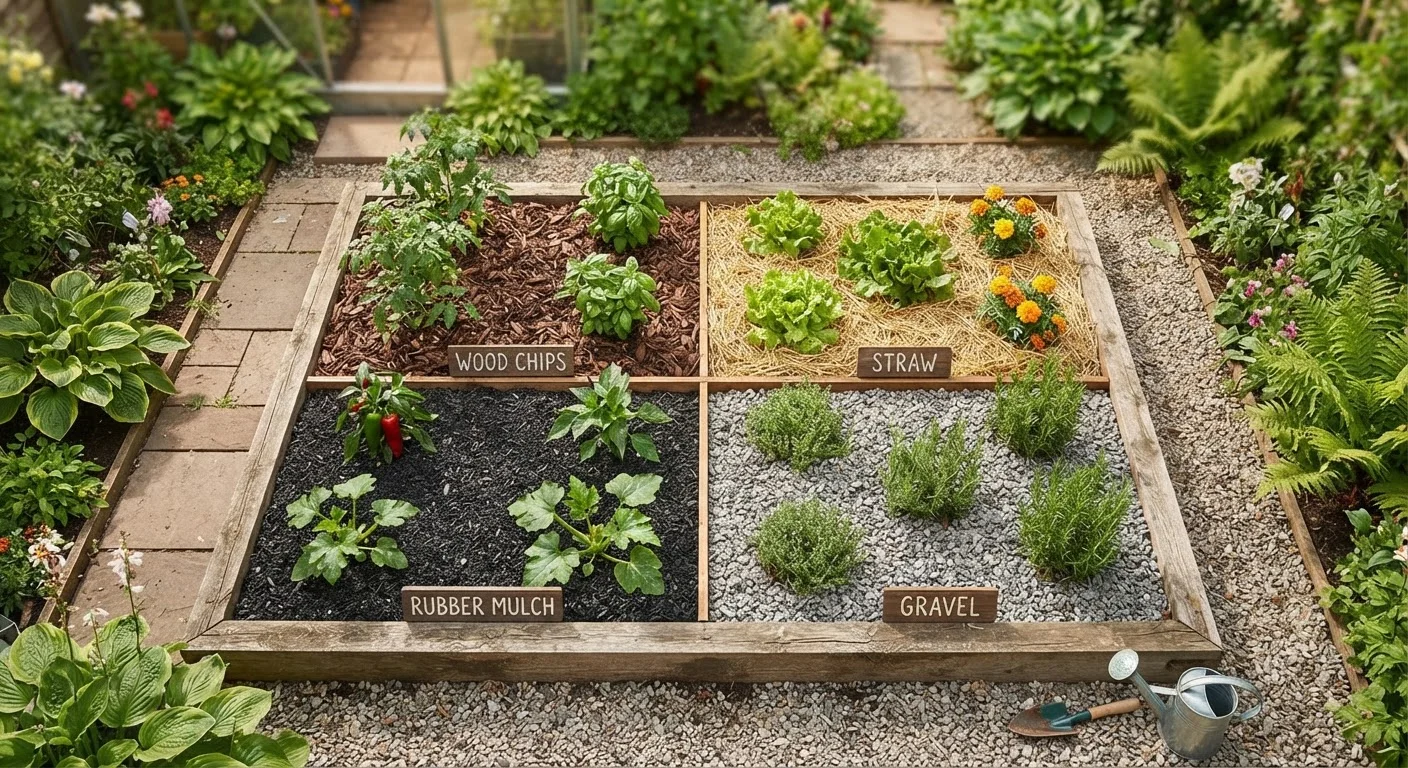
- Mulch layer: Apply a 1-2 inch layer around garden beds to suppress weeds and retain moisture. For a broader look at mulching options, see our guide to mulch types and uses.
Compost won't replace all fertilizers - but used consistently, it builds the kind of living soil that reduces how much supplemental feeding your plants need over time. It's a long-term investment in your outdoor space that compounds season after season.
“Healthy soil is the foundation of a healthy garden. Compost is one of the most practical tools a home gardener has for building that foundation sustainably over time.”
— Cooperative Extension Soil Science Education, U.S. Land-Grant University Extension Program