
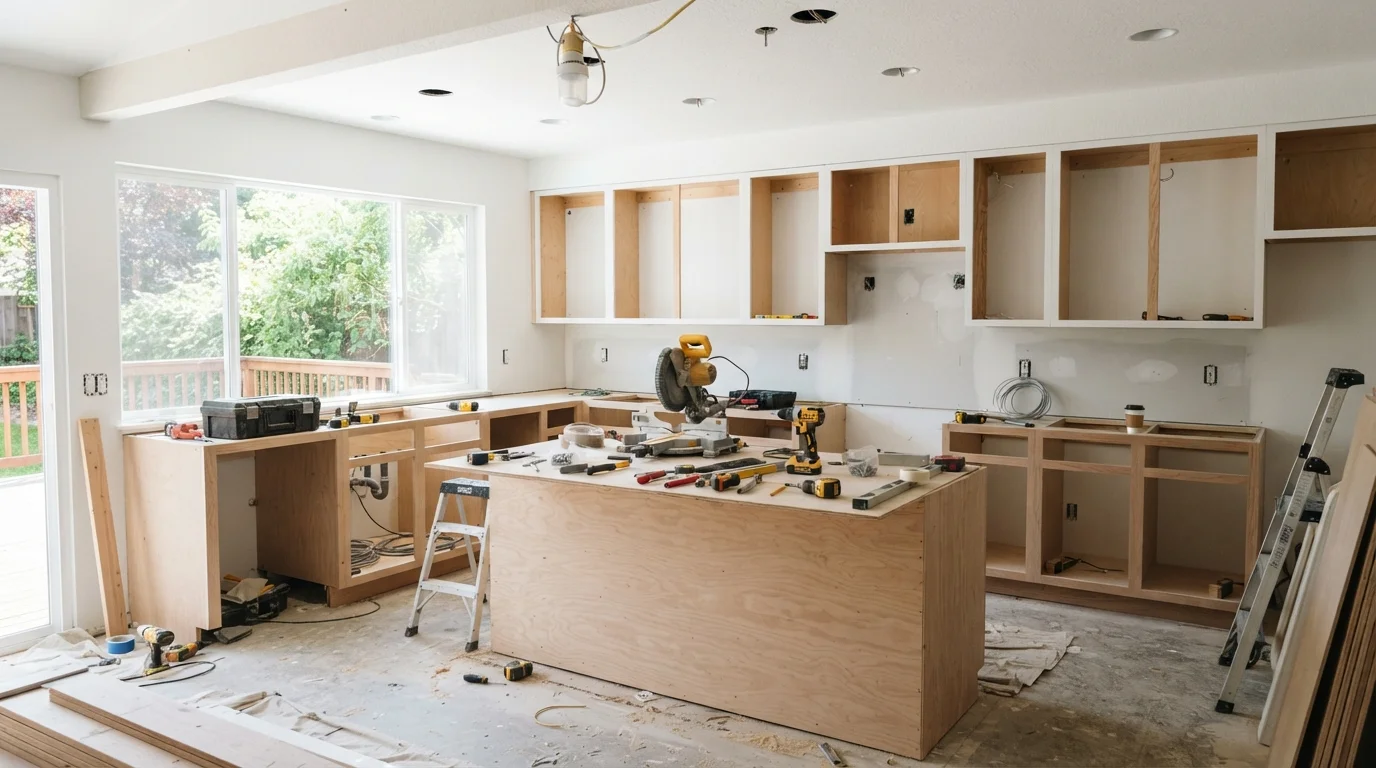
Defining Your Scope Before Anything Else
A kitchen remodel can mean replacing cabinet hardware or gutting the room to the studs. That range matters enormously because it determines your budget, timeline, permit requirements, and which professionals you need. Before you contact a single contractor or visit a showroom, write down what you actually want to change.
Group your wish list into three buckets: cosmetic (paint, hardware, lighting fixtures), mid-level (cabinet refacing, new countertops, appliance upgrades), and structural (moving walls, relocating plumbing or electrical, changing the layout). Each tier escalates cost, complexity, and time substantially.
Be honest about what is driving the project. Resale value, daily function, and personal enjoyment are all valid motivations - but they lead to different decisions. A house you plan to sell in two years doesn't need a custom tile backsplash that fits only your taste. A forever home warrants more investment in what you'll actually use every day.
Plan Your Temporary Kitchen Early
During a full kitchen remodel, you may be without a functioning sink or range for several weeks. Set up a temporary cooking station - a microwave, electric kettle, and countertop induction burner in another room - before demo day arrives. Also locate the nearest bathroom sink for basic dishwashing. Having this plan in place reduces daily friction considerably.
Once you have a rough scope, read our guide on DIY versus hiring out to decide which portions, if any, make sense to handle yourself.
Permits and Code Requirements
Homeowners often try to avoid permits to save time and money. This is one of the most common - and costly - mistakes in renovation. If you sell your home, unpermitted work can surface during inspection and complicate or kill a sale. If something goes wrong (a fire, a flood), insurance may deny a claim tied to unpermitted work.
In most US jurisdictions, kitchen remodels require permits when they involve: relocating or adding electrical circuits, moving or adding plumbing, removing or altering load-bearing walls, or installing a new range hood that penetrates an exterior wall. Replacing like-for-like cabinets or countertops typically does not require a permit, but local codes vary.
See our plain-language breakdown of permits and inspections for a fuller picture of when they apply and how to navigate the process. Always verify requirements with your local building department before work begins.
Unpermitted Work Carries Real Risk
Skipping required permits doesn't just violate local code - it can void your homeowner's insurance for related claims and create legally complicated disclosure obligations when you sell. Some jurisdictions require unpermitted work to be exposed, inspected, and brought up to current code at the seller's expense before a sale can close. The short-term convenience is rarely worth it.
The Correct Order of Trades
Sequencing is where kitchen remodels either run smoothly or spiral into expensive rework. The general order is: demolition → rough structural → rough mechanical (plumbing, HVAC, electrical) → inspections → insulation → drywall → painting → flooring → cabinets → countertops → tile → fixtures and appliances → trim and hardware → punch list.
Cabinets go in before countertops because the counter template is measured off the installed cabinets. Flooring typically goes in before cabinets in an open-plan kitchen but after in a galley where cabinet toe kicks will cover the floor edge - confirm this sequence with your installer. Painting happens after drywall is complete but before finish flooring to avoid overspray and drips on new surfaces.
~$27,000
Median US kitchen remodel cost (mid-range)
According to Remodeling magazine's Cost vs. Value report, a mid-range major kitchen remodel has historically averaged in this range, though costs vary widely by region and scope.
6-12 weeks
Typical timeline for a full kitchen renovation
Industry estimates from the National Kitchen and Bath Association suggest most full gut-and-replace remodels take between six and twelve weeks once work is underway, excluding planning and material lead times.
15-20%
Recommended contingency budget
Construction professionals generally advise reserving 15-20% of the total project budget for unexpected conditions, such as hidden water damage or outdated wiring discovered during demolition.
Inspections happen at prescribed milestones - usually after rough mechanical work is complete but before walls are closed. Missing an inspection window means opening up finished walls later. Schedule inspections proactively, not reactively.
Choosing Materials Without Getting Overwhelmed
Material selection is where decision fatigue sets in. Countertops alone can involve quartz, granite, butcher block, laminate, concrete, and more - each with different maintenance demands, durability profiles, and costs. Rather than chasing trends, anchor choices in how your household actually cooks and cleans.
For cabinets, understand the difference between stock (off-the-shelf, fastest and most affordable), semi-custom (limited modifications, moderate lead time), and full custom (made to order, longest lead time, highest cost). Lead times for semi-custom and custom cabinetry can run 8-16 weeks, so order early.
For flooring, consider that kitchens experience water, dropped items, and heavy foot traffic. Porcelain tile and luxury vinyl plank are commonly used for durability; hardwood is popular but requires careful sealing and maintenance near sinks. Whatever you choose, order 10-15% extra to account for cuts, waste, and future repairs.
Lock in all material selections before demolition begins. Starting demo with unresolved choices forces contractors to pause - and idle labor is the fastest way to blow a budget.
Change orders issued mid-project consistently cost more than the same decisions made upfront because they interrupt sequenced trades and may require rework.
When evaluating countertop materials, visit a fabricator's slab yard rather than relying on small showroom samples. Veining and color variation in natural stone look dramatically different at full scale.
A 4-inch sample rarely represents how a full slab will read in your kitchen - seeing full slabs prevents expensive surprises after the material is already cut and installed.
Once your kitchen is complete, put its new layout to work with organization principles that hold up over time.
Managing the Process and Your Contractor
Even with a skilled general contractor, you are the project owner. That means staying informed, making timely decisions, and documenting everything in writing. Delays often trace back to homeowners who couldn't confirm a tile choice or approve a change order quickly enough to keep trades on schedule.
Before signing anything, review our contractor vetting checklist - it covers licensing, payment schedules, written scopes, and what red flags to watch for. A solid contract includes a detailed scope of work, a payment schedule tied to milestones (not calendar dates), and a process for handling change orders.
Set up a dedicated communication method - email is preferable to text for creating a paper trail. Take dated photos at each phase. If something looks wrong, raise it immediately; it is always easier to correct work before the next trade builds on top of it.
Never Pay More Than 30-35% Upfront
Paying a large deposit before work begins leaves you with little leverage if the contractor underperforms or abandons the project. Standard practice ties payments to completed milestones - for example, after demolition, after rough-in, after cabinet installation. A contractor who demands 50% or more before lifting a tool is a red flag worth taking seriously.
The Punch List: Finishing Strong
A punch list is a written inventory of incomplete or unsatisfactory items identified before final payment is released. Walk through the kitchen methodically with your contractor and note every imperfection: a cabinet door that won't close flush, a backsplash tile with a hairline crack, a missing outlet cover plate, a drawer that sticks.
Do this inspection in daylight and with lights on - shadows hide surface defects. Check every drawer, every cabinet hinge, every appliance function, and every fixture for proper operation. Test the dishwasher, run water at the sink, and cycle the range hood.
Withhold a reasonable portion of final payment - commonly the last 5-10% depending on your contract terms - until all punch list items are resolved to your satisfaction. This is standard practice in residential construction and gives both parties clear incentive to close out cleanly.
After close-out, keep all warranties, manuals, paint color codes, tile lot numbers, and contractor contact information in one folder. Future repairs will go much faster when you know exactly what was installed and who did the work.
If your remodel opens up adjacent spaces, consider next steps for the whole home - our room-by-room organization guide is a good place to start.