Why a Small Caulking Job Can Go Wrong Quickly
Recaulking a bathtub looks like a five-minute project on the surface. You squeeze a tube, smooth it out, and you're done - or so it seems. In reality, a caulk line that peels within weeks, grows mold, or cracks along the seam is almost always the result of a handful of skipped steps, not bad luck. Understanding why these mistakes happen is the fastest path to getting the job done right the first time.
Applying new caulk directly over old caulk without removing it first.
Why it happens: Removing old caulk is tedious, and the new layer seems to cover the problem visually. Many people assume it will bond regardless.
Using the wrong type of caulk for a wet bathroom environment.
Why it happens: Caulk tubes look similar on store shelves, and shoppers often grab the most accessible or inexpensive option without checking the label.
Caulking over a damp or insufficiently dry surface.
Why it happens: Homeowners often attempt the repair the same day they notice peeling caulk, without allowing adequate drying time after cleaning.
Forgetting to fill the tub with water before applying caulk.
Why it happens: This counterintuitive step is rarely mentioned in brief tutorials, so most first-timers skip it entirely.
Exposing newly applied caulk to water before it fully cures.
Why it happens: Cure times aren't always prominently displayed, and the caulk feels dry to the touch well before it has fully set.
Getting the Foundation Right Before You Even Open a Tube
Most of the work in a successful caulk job happens before any caulk is applied. Surface preparation is the single most important phase, yet it's consistently the most rushed. Start by removing every trace of old caulk using a plastic scraper or dedicated caulk-removal tool - residue left behind prevents new caulk from bonding properly. Once the old caulk is gone, clean the entire area with rubbing alcohol or a diluted bleach solution to eliminate soap scum, mildew, and grease. Then wait. The surface must be completely dry - allow at least 24 hours, especially in humid bathrooms with limited ventilation.
Don't Skip the Dry-Out Period
Applying caulk to a surface that holds any residual moisture - even if it looks dry - is one of the leading causes of premature adhesion failure and mold growth behind the caulk line. After cleaning with bleach or alcohol, run the bathroom exhaust fan for a full day before starting. If your bathroom lacks good ventilation, crack a window or use a portable fan to accelerate drying.
One step many homeowners overlook: fill the bathtub with water before applying caulk. Tubs flex under the weight of a person, and if you caulk with an empty tub, that flex will crack the fresh seal the first time someone steps in. A full tub pre-loads the gap to its widest point, so the cured caulk can accommodate movement.
Application Technique and Cure Time
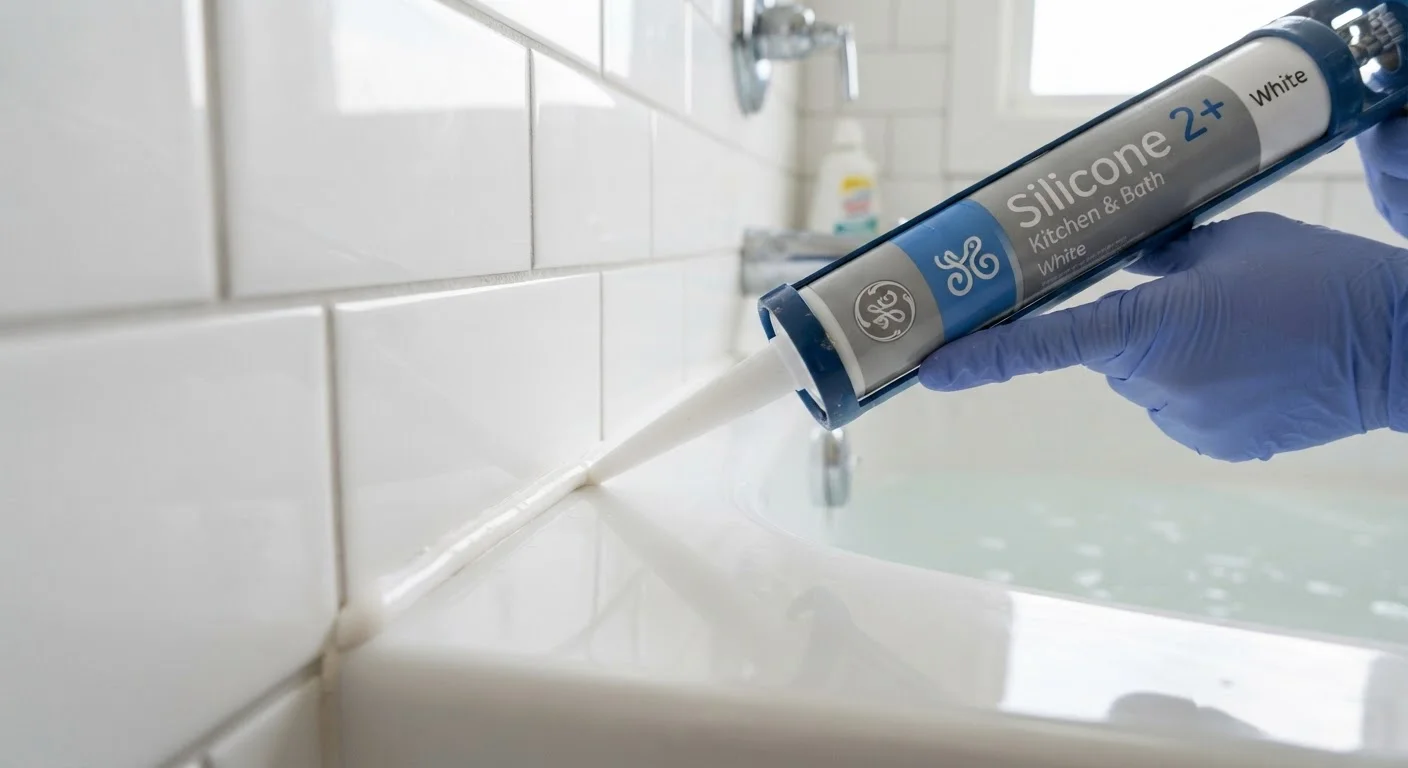
Even with perfect prep, application errors can ruin the result. Use painter's tape on both sides of the joint to create straight, clean lines - this is the single easiest way to get a professional-looking finish. Cut the caulk tube tip at a 45-degree angle, keeping the opening small (about 3mm) for precise control. Apply in one steady, continuous pass. Then immediately smooth the bead with a wet finger or a caulk-finishing tool, pressing it firmly into the joint. Remove the tape before the caulk skins over, pulling at a 45-degree angle.
24-72 hrs
Typical silicone caulk full cure time
Most silicone caulk manufacturers specify a 24-hour minimum before water contact, with full cure taking up to 72 hours depending on humidity and ventilation.
1-5 yrs
Average lifespan of bathroom caulk
According to home maintenance guidance from the International Association of Certified Home Inspectors, bathroom caulk typically needs replacement every one to five years depending on conditions and product quality.
Once applied, don't rush the cure. Most silicone caulks require at least 24 hours before light water exposure and up to 72 hours for full cure - check your product's instructions. Exposing uncured caulk to water causes it to lift and peel, undoing the entire job. Keep the bathroom well-ventilated during curing. Just as knowing your limits matters in other DIY contexts - see our guide on evaluating DIY car maintenance tasks - the same principle applies here: patience and preparation beat shortcuts every time.