
Why Automation Makes Saving Easier
Saving consistently is less a matter of motivation and more a matter of friction. Every time you decide manually whether to transfer money, you face a small decision - and small decisions are easy to postpone. Automation eliminates that decision entirely.
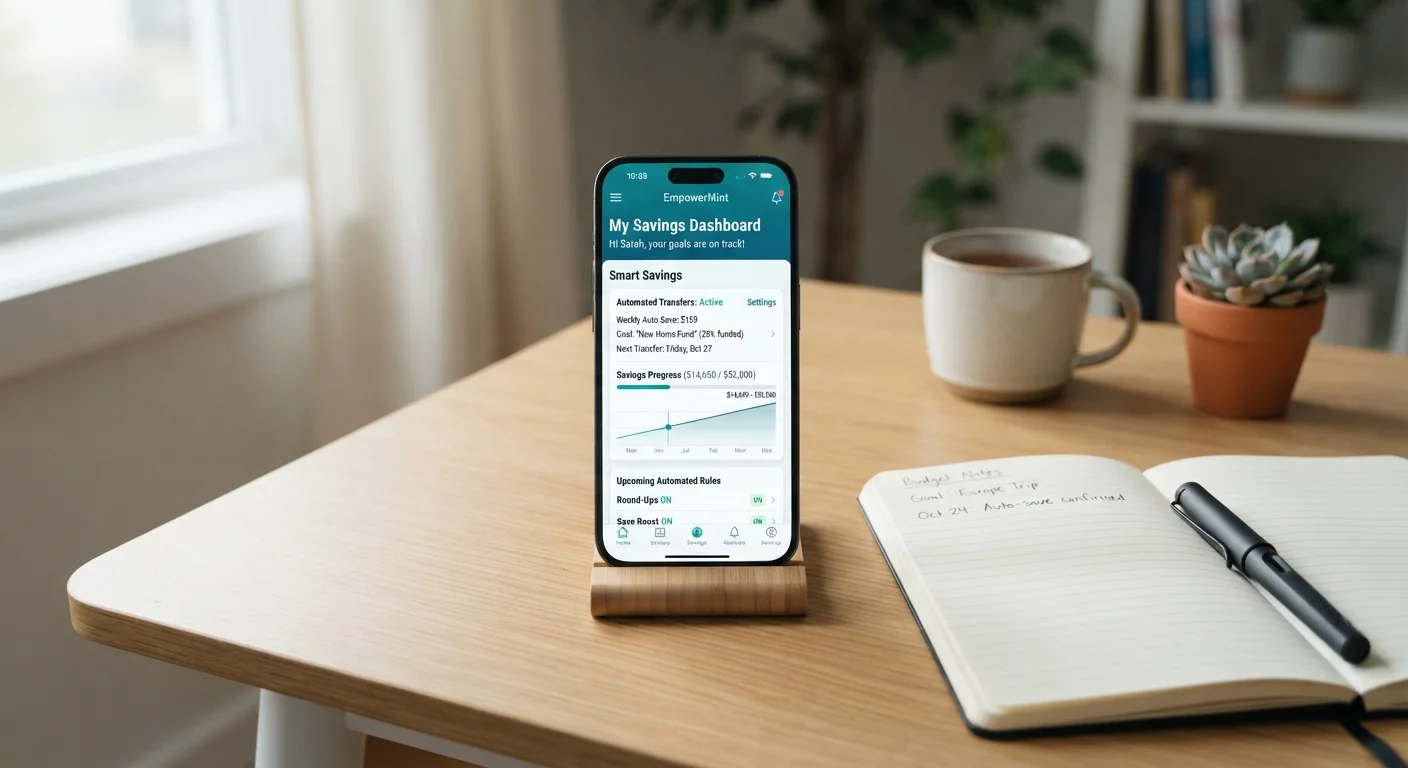
The core idea is simple: money moves from your checking account to a designated savings account on a fixed schedule - typically the same day you receive a paycheck - before it mingles with spending money. Behaviorally, this mirrors the way employer-sponsored retirement contributions work. You never see the money hit your main account, so you quickly stop thinking of it as available to spend.
This approach is sometimes called paying yourself first: treating savings as a non-negotiable line item rather than whatever is left over at month's end. Research in behavioral economics consistently finds that default automation dramatically increases follow-through on saving intentions compared to manual transfers.
If you're still working out which accounts should hold your savings and why, see our guide on emergency funds vs. savings accounts for context before you start setting up transfers.
Start Small, Then Scale Up
There's no minimum amount required to start automating. Even $10 or $25 per paycheck builds the habit and grows over time. Most people find it easier to increase an existing automated transfer than to create motivation to start from scratch after stopping. Starting small and staying consistent beats ambitious targets that get abandoned.
What You'll Need Before You Start
Setting up automation takes only a few minutes once you have the right pieces in place. Gather the following before you log in.
What you will need
If you don't yet have a separate savings account, opening one at your existing bank is usually the quickest path. Having savings in a separate account from your daily checking creates a psychological boundary that makes the money feel less accessible - which is a feature, not a bug. For a broader look at how account structure affects your financial plan, the pros and cons of keeping savings in one place is worth reading before you finalize your setup.
Step-by-Step: Setting Up Automated Savings
The exact screens will differ by institution, but the logic is the same across virtually every bank, credit union, or brokerage that offers online account management. Follow these steps in order.
Decide how much to automate
Before touching any settings, land on a transfer amount. A common guideline is to aim for saving 10-20% of take-home pay, but the right number is whatever you can sustain without overdrawing your account. Start conservatively - you can always increase the amount later. If you're not sure what your budget can support, review your last two or three months of bank statements to see average monthly discretionary spending.
Choose the destination account
Identify where the money should go. Options typically include a high-yield savings account, a standard savings account, or a dedicated goal account if your bank offers sub-accounts for specific purposes (emergency fund, vacation, down payment, etc.). If your goal is a short-term emergency cushion, that money generally belongs in a liquid, FDIC-insured savings account rather than an investment account. See our guide to building a financial safety net from zero for help prioritizing which goal to fund first.
Log into your bank's online portal or app
Navigate to the transfers section, usually labeled Transfers, Move Money, or Scheduled Transfers. If you're transferring to an account at a different institution, you may need to link the external account first by providing routing and account numbers. This verification step can take one to three business days at some banks, so factor that into your timeline.
Set up a recurring transfer
Create a new scheduled transfer with the following parameters:
- From account: your primary checking account
- To account: your designated savings account
- Amount: the figure you settled on in Step 1
- Frequency: match this to your pay schedule (weekly, bi-weekly, or monthly)
- Start date: ideally the same day as, or one business day after, your paycheck lands
Aligning the transfer date with your payday is critical - it ensures the money moves before you've had an opportunity to spend it.
Confirm and monitor the first transfer
Save or confirm the scheduled transfer and note the first scheduled date. Check your accounts the day after that date to verify the transfer executed correctly. Errors are uncommon but do happen, especially with newly linked external accounts. Once you've confirmed the first successful transfer, the system should handle subsequent ones automatically.
Review and adjust every three to six months
Automation works best as a living system, not a one-time setup. Schedule a brief review every quarter or after any significant income or expense change - a raise, a new bill, a paid-off loan. Increase your transfer amount when your income grows. If you hit a tight month, you can temporarily reduce or pause the transfer rather than skipping it entirely and losing the habit. Understanding how saving fits into a broader financial plan - including the role of investing once you have a cushion built - is covered in our guide on saving vs. investing.
Once your automation is running, it works in the background without any further action. That said, automation isn't a set-and-forget situation forever - your income and expenses change, and your transfer amounts should reflect that. The Budgeting Basics hub has practical tools for keeping your full spending plan synchronized with your savings goals.
This article is for general informational and educational purposes only. It does not constitute personalized financial advice. Consult a qualified financial professional for guidance specific to your situation.