Why Decluttering Feels So Hard - and How to Change That
Most people don't struggle with decluttering because they're disorganized by nature. They struggle because the task feels enormous. When you look at an entire room and think "I need to deal with all of this," the result is almost always inaction.
The solution isn't willpower - it's scope. Shrinking the task to something genuinely completable in one sitting changes everything. A single junk drawer. One closet shelf. The surface of a nightstand. These micro-sessions add up faster than you'd expect, and each small win makes the next one easier.
It also helps to let go of the all-or-nothing mindset. You don't need to become a minimalist to have a functional, comfortable home. If you're curious about how radical simplification compares to a more moderate approach, The Trade-Offs of Minimalist Organization offers a balanced look at both sides.
Start with a Low-Stakes Area
If you're new to decluttering, avoid starting with sentimental items like photos, gifts, or keepsakes. These require more emotional energy and are best tackled after you've built confidence with easier categories. Junk drawers, expired pantry items, and worn-out clothing are great entry points.
What You'll Need Before You Start
You don't need special equipment to declutter effectively. A few basic supplies and a clear plan are enough to get started.
What you will need
Three sorting containers or bags
Used to physically separate items into keep, donate, and discard categories as you sort.
Sticky labels or a marker
Label each container clearly so sorting decisions stay consistent throughout the session.
Timer
Set a defined session length (20-30 minutes) to keep the task manageable and prevent fatigue.
Notebook or phone
Jot down items you're unsure about so you can revisit them later without derailing your momentum.
Step-by-Step: Decluttering One Area at a Time
Follow these steps for any area of your home - a drawer, a closet, a room. The same process scales to any size.
Choose one small, defined area
Pick a single, bounded space: one kitchen drawer, the top shelf of a closet, or the surface of a desk. Resist the urge to expand scope mid-session. Finishing one area completely is more valuable than partially sorting several.
Remove everything from the area
Take every item out and place it in front of you. An empty surface or drawer forces you to make a conscious decision about every item rather than defaulting to leaving things where they are.
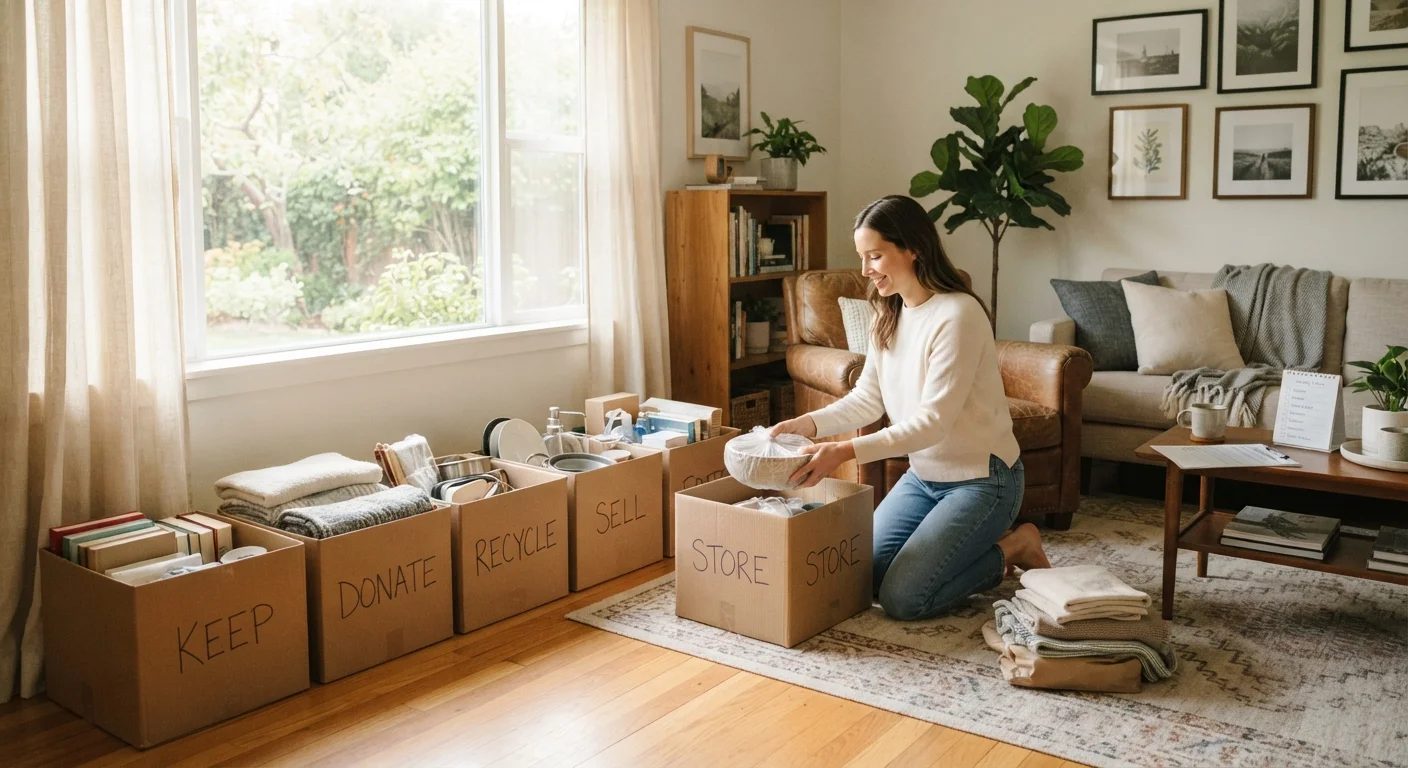
Sort each item into keep, donate, or discard
Handle each item once and make a decision. Ask: Have I used this in the past year? Does it serve a purpose in my current life? If the answer is no to both, it likely belongs in the donate or discard pile. Items in good condition that you no longer need are good donation candidates; broken or expired items go straight to discard.
Return only the "keep" items - organized
Before putting things back, wipe down the empty space. Then return only what you decided to keep, arranging items so the most frequently used ones are easiest to access. Grouping similar items together makes the space more intuitive to use going forward.
Remove donation and discard items immediately
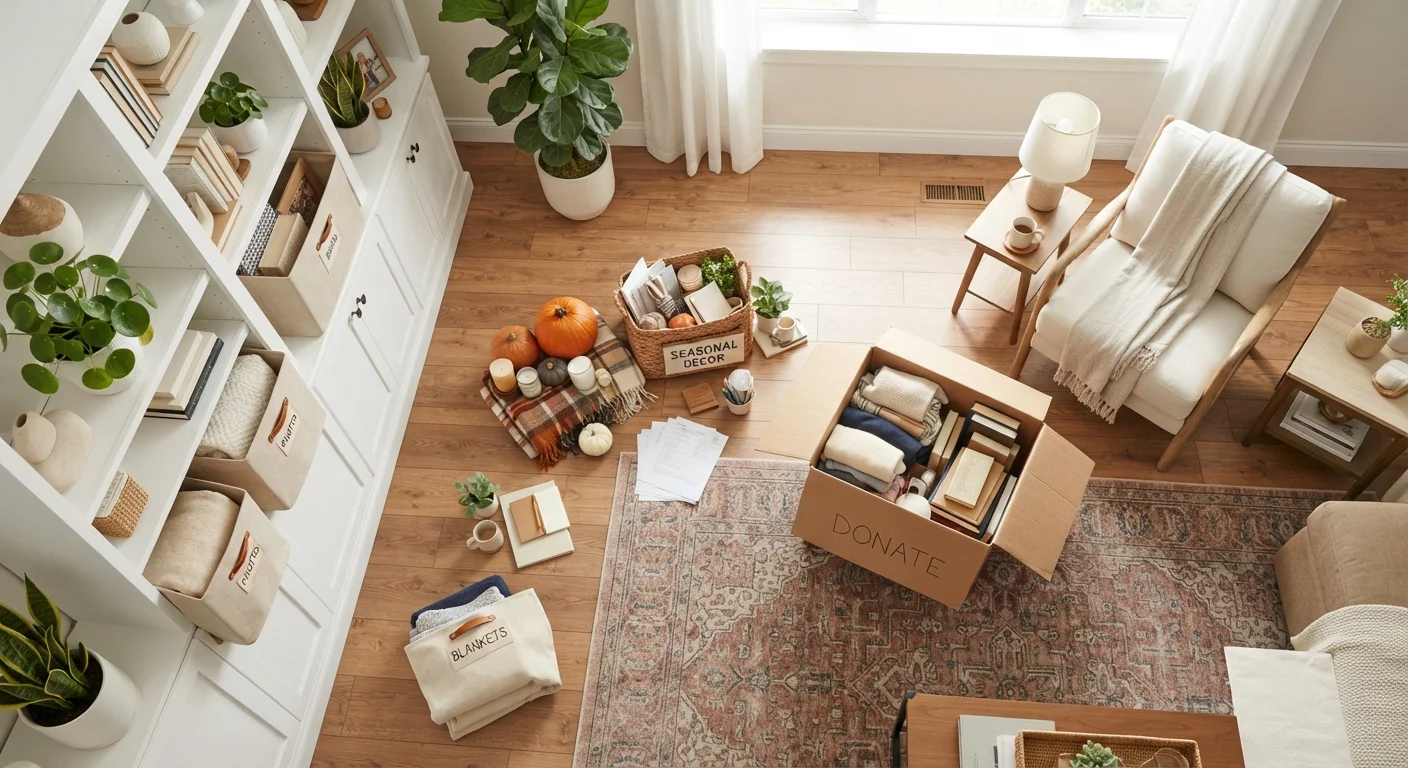
Don't leave donation bags in your home - they almost always get unpacked again. Move discard items to your trash or recycling right away, and place donation bags by the door or directly in your car. The physical act of removal closes the loop on your decision.
Once you've worked through multiple areas, consider using a seasonal declutter checklist to reset each room throughout the year and prevent clutter from accumulating again.
Keeping It Going: Habits That Prevent Re-Cluttering
Decluttering once is useful. Building simple habits afterward is what makes it last.
The most effective habit is the "one in, one out" rule: when something new enters your home, something old leaves. This isn't about deprivation - it's about keeping your space in equilibrium without periodic purges.
Another useful practice is a weekly ten-minute reset. Pick a consistent time - Sunday evening, for example - and do a quick pass through common clutter zones: counters, chairs, entryway surfaces. This keeps small accumulations from becoming larger problems.
If you share your home with others, maintaining systems everyone agrees on is essential. Shared Spaces, Different Habits covers practical strategies for households with varying tidiness styles.
Avoid Reorganizing Instead of Decluttering
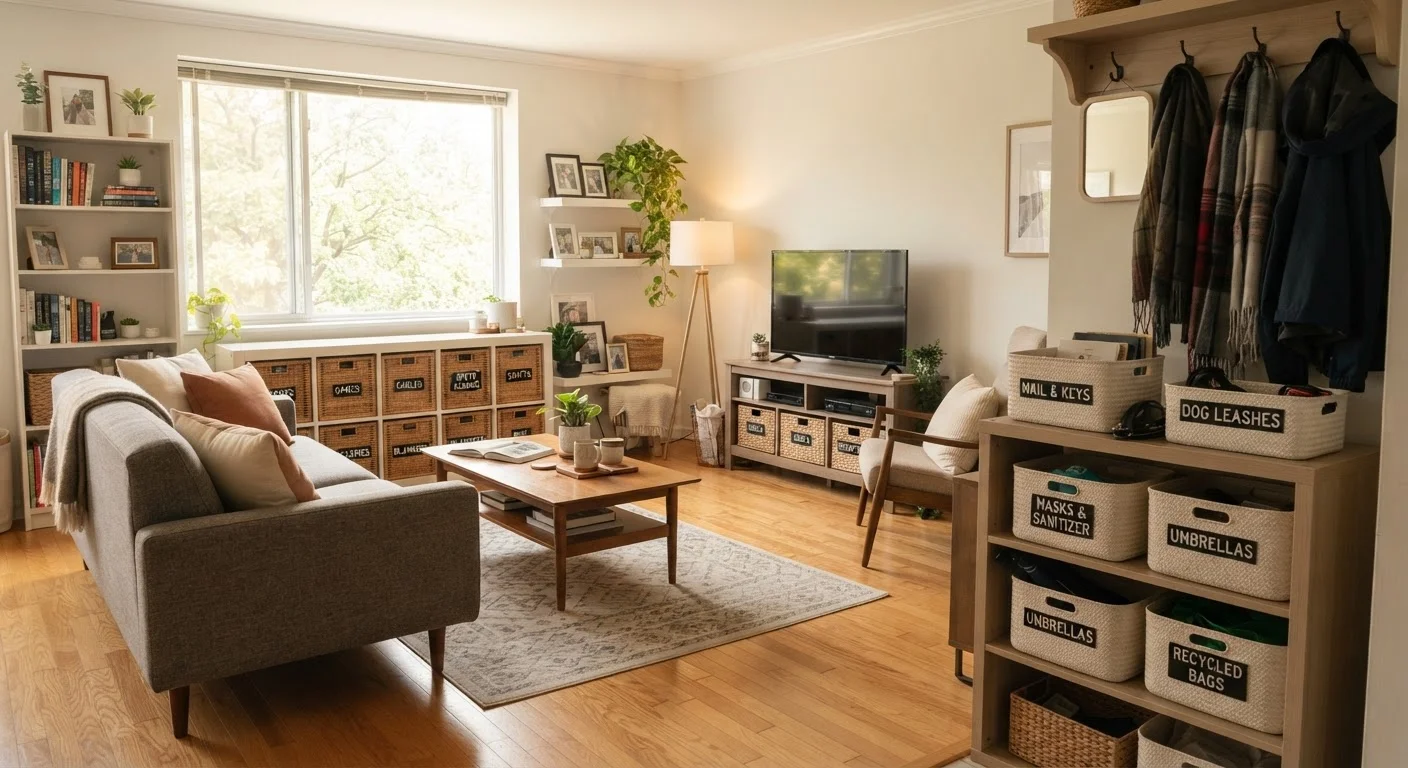
It's tempting to buy new bins and containers before sorting through what you actually own. Organizing clutter just makes it more neatly stored clutter. Always declutter first - identify what stays - before investing in any storage solutions.
For a broader foundation in home organization principles - including how to approach every room from scratch - Starting Fresh: A Room-by-Room Introduction to Home Organization is a helpful companion guide.