How a Drip System Is Put Together
A drip irrigation system has a few core components that work together. Water enters from a standard outdoor spigot or irrigation line and passes through a backflow preventer, which stops water from flowing back into the household supply. A pressure regulator then reduces the line pressure to the lower range drip emitters need to function correctly - most municipal water supplies run too high for drip systems without this step.
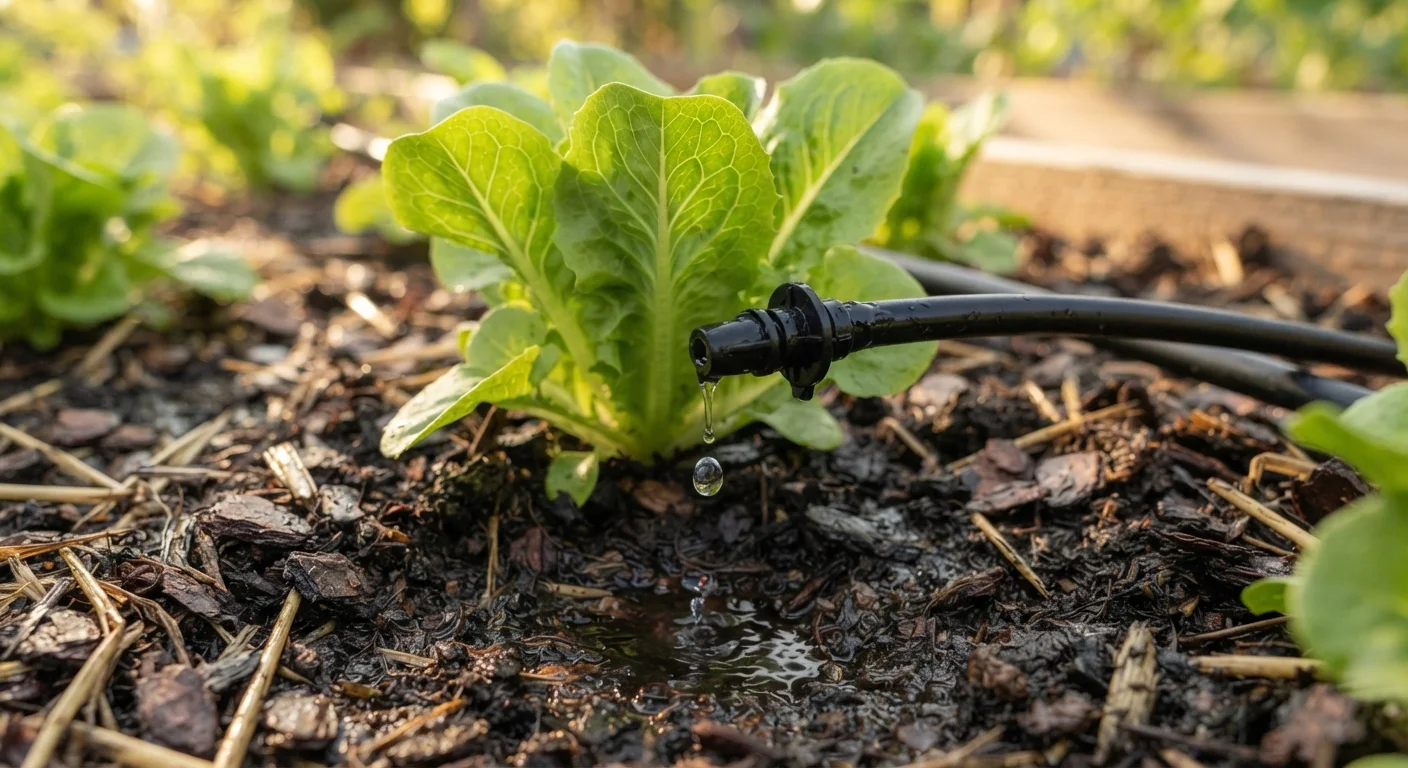
From there, water moves through a filter (to remove particles that can clog small emitters) and into the main supply line, usually half-inch polyethylene tubing. Smaller distribution tubing branches off this main line to reach individual plants, terminating at emitters - small devices that release water at a measured rate. Emitters come in fixed rates (commonly 0.5, 1, or 2 gallons per hour) or adjustable styles, and you select them based on the water needs of specific plants.
Flush Your Lines Each Season
At the start of each growing season - and before winterizing - briefly open end caps on your supply lines to flush out sediment, mineral deposits, and debris. Clogged emitters are the most common drip system problem, and a seasonal flush takes only a few minutes. A filter at the inlet also significantly reduces clogging frequency.
End caps or figure-eight closures seal the ends of supply lines. Without them, water simply runs out the end rather than reaching emitters. Flush lines by briefly removing end caps at the start of each season to clear any debris buildup.
Where Drip Irrigation Outperforms Sprinklers
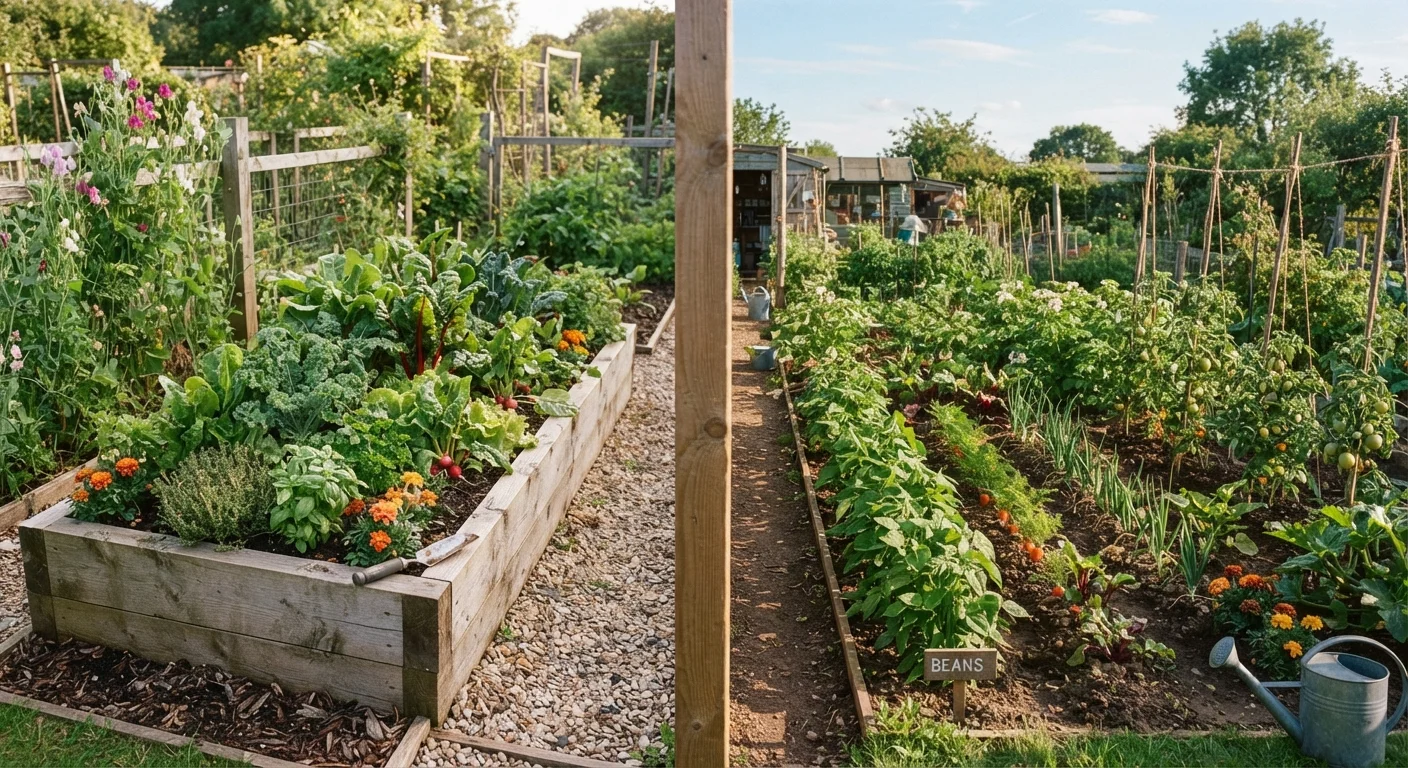
Drip systems have clear advantages in specific garden situations. Vegetable beds and raised beds are ideal candidates - plants are spaced predictably, roots need consistent moisture, and keeping foliage dry reduces disease pressure from conditions like powdery mildew. If you're weighing garden layout options, our guide to raised beds vs. in-ground planting covers how drainage and soil control differ between those setups.
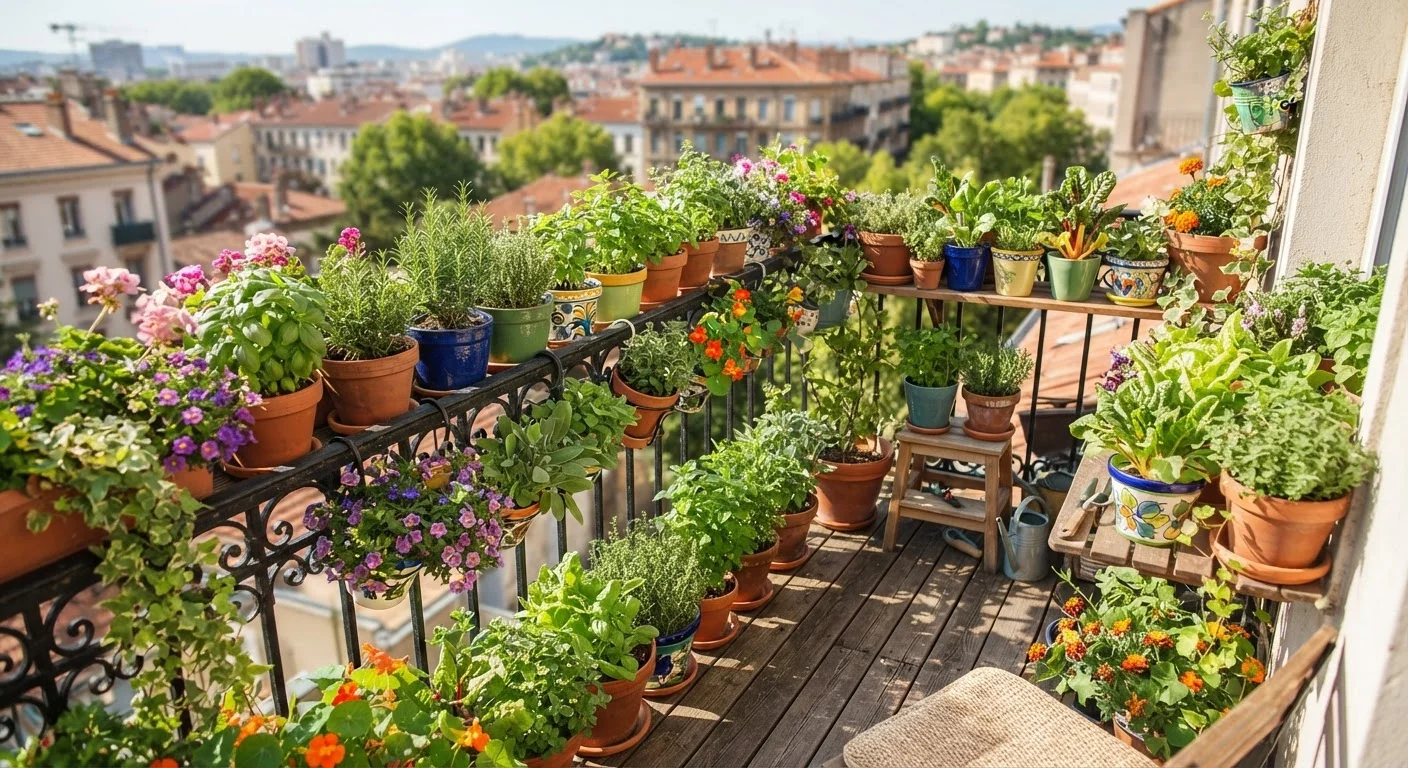
Shrubs and trees benefit from drip irrigation because water can be delivered slowly enough for the soil to absorb it rather than running off. Slopes and clay-heavy soils - which absorb water slowly - are particularly well served. Container gardens are another strong fit; individual emitters can be placed in each pot for consistent delivery. For more on managing containers, see our container gardening guide.
15-30 PSI
Optimal pressure range for drip emitters
Most household water supplies run at 40-80 PSI, making a pressure regulator a required component in any drip system.
0.5-2 GPH
Typical emitter flow rates
Emitters are available in fixed or adjustable output; matching flow rate to plant type is a key step in system design.
1-2x per week
Typical drip run frequency for established plants
Run frequency varies by climate, soil type, and plant needs - monitoring soil moisture is more reliable than following a fixed schedule.
Drip is less practical for dense ground covers or turfgrass, where uniform overhead coverage is more efficient. It also requires more layout planning upfront compared to simply placing a sprinkler head.
Deep Watering and Root Health
One reason drip irrigation supports healthy plants is that its slow delivery encourages water to move deeper into the soil before the surface dries. This aligns with how most established plants prefer to receive moisture. Frequent, shallow watering tends to keep roots near the surface where they're vulnerable to heat and drought. Our article on watering deeply vs. watering often explains how root behavior responds to different irrigation patterns.
With drip, run times can be set longer at lower flow rates to achieve that deep penetration - especially useful in sandy soils that drain quickly or clay soils that need time to absorb moisture without puddling. Whether you're growing perennials or annuals, calibrating emitter output to each plant type makes the system significantly more effective than a one-size-fits-all approach.
Soil Type Affects Run Time
Sandy soils drain quickly and may need more frequent, shorter run cycles to keep the root zone moist. Clay soils absorb water slowly, so longer, less frequent runs help prevent surface pooling. Loamy soils generally allow the most flexibility. Checking soil moisture a few inches down after a run is the most reliable way to calibrate your schedule.
Installing a Basic System: What to Expect
Most homeowners with basic DIY comfort can install a simple drip system for a vegetable bed or mixed border over a weekend. The process generally involves:
- Measuring the area and sketching a rough layout of plant locations
- Selecting emitter flow rates based on plant water needs
- Connecting the backflow preventer, pressure regulator, and filter to the water source
- Running the main supply line and securing it with garden stakes
- Cutting and inserting distribution tubing to each plant's location
- Installing emitters and capping all open line ends
- Running the system briefly to check for leaks and verify emitter output
Systems connected directly to an outdoor spigot can be operated manually or paired with a battery-powered hose timer for automated scheduling. More extensive systems tied into a home's irrigation controller may benefit from professional assessment, particularly if they involve multiple zones or backflow prevention requirements regulated by local codes.
“Irrigation efficiency is less about the hardware and more about matching water delivery to actual plant need. Drip systems make that match much easier to achieve consistently.”
— Cooperative Extension Water Management Specialist, University Cooperative Extension Service, Irrigation and Water Use Program